Copying Photos
Categories:
Copying Photos with PhotoCulling
PhotoCulling supports two distinct copy workflows to fit your photo culling process:
- Initial Copy: Copy your photos from your camera to a temporary catalog
- Final Copy: Copy only your selected and rated photos to your final destination
Understanding both workflows is essential for an efficient culling workflow.
Copy All Tagged Photos
The first workflow copies all photos that have been tagged during your culling process. This is useful when you want to copy a broad selection of marked images to your destination.
Step 1: Tag Your Photos
As you review your images in PhotoCulling, tag all the photos you want to include in your copy operation.
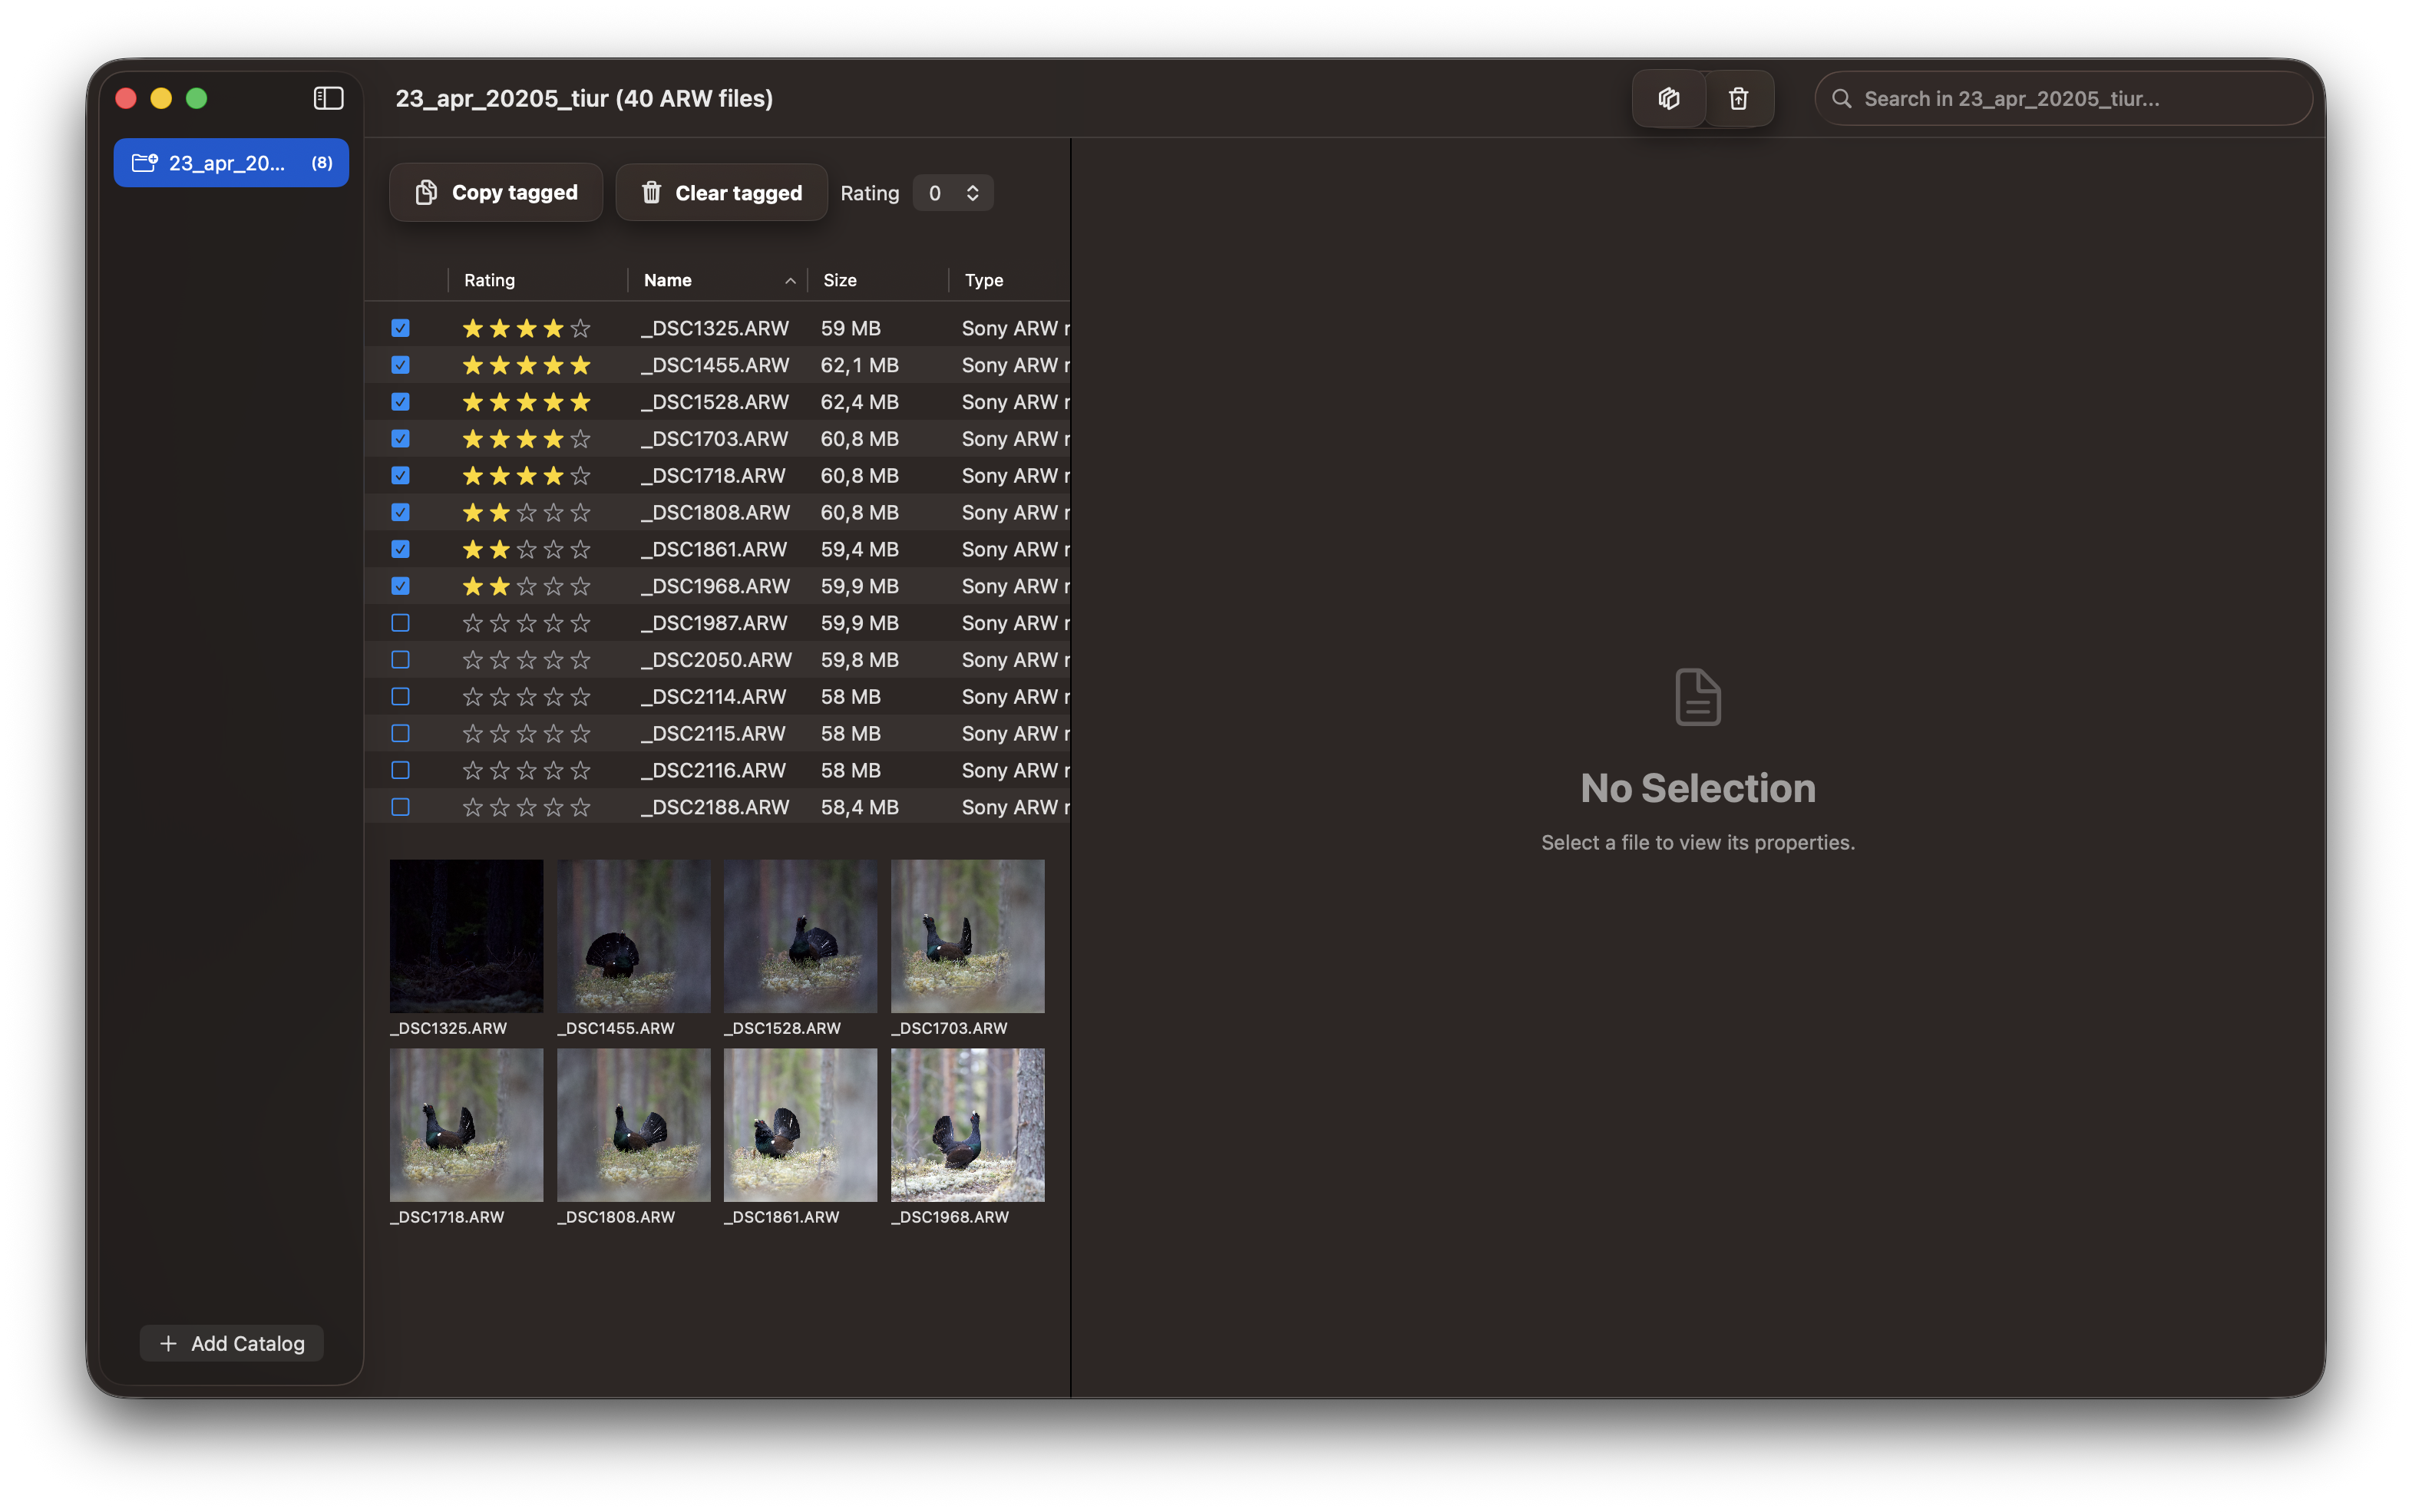
Step 2: Select Tagged Photos for Copy
Use PhotoCulling’s filter to view and select all tagged photos, preparing them for the copy operation.
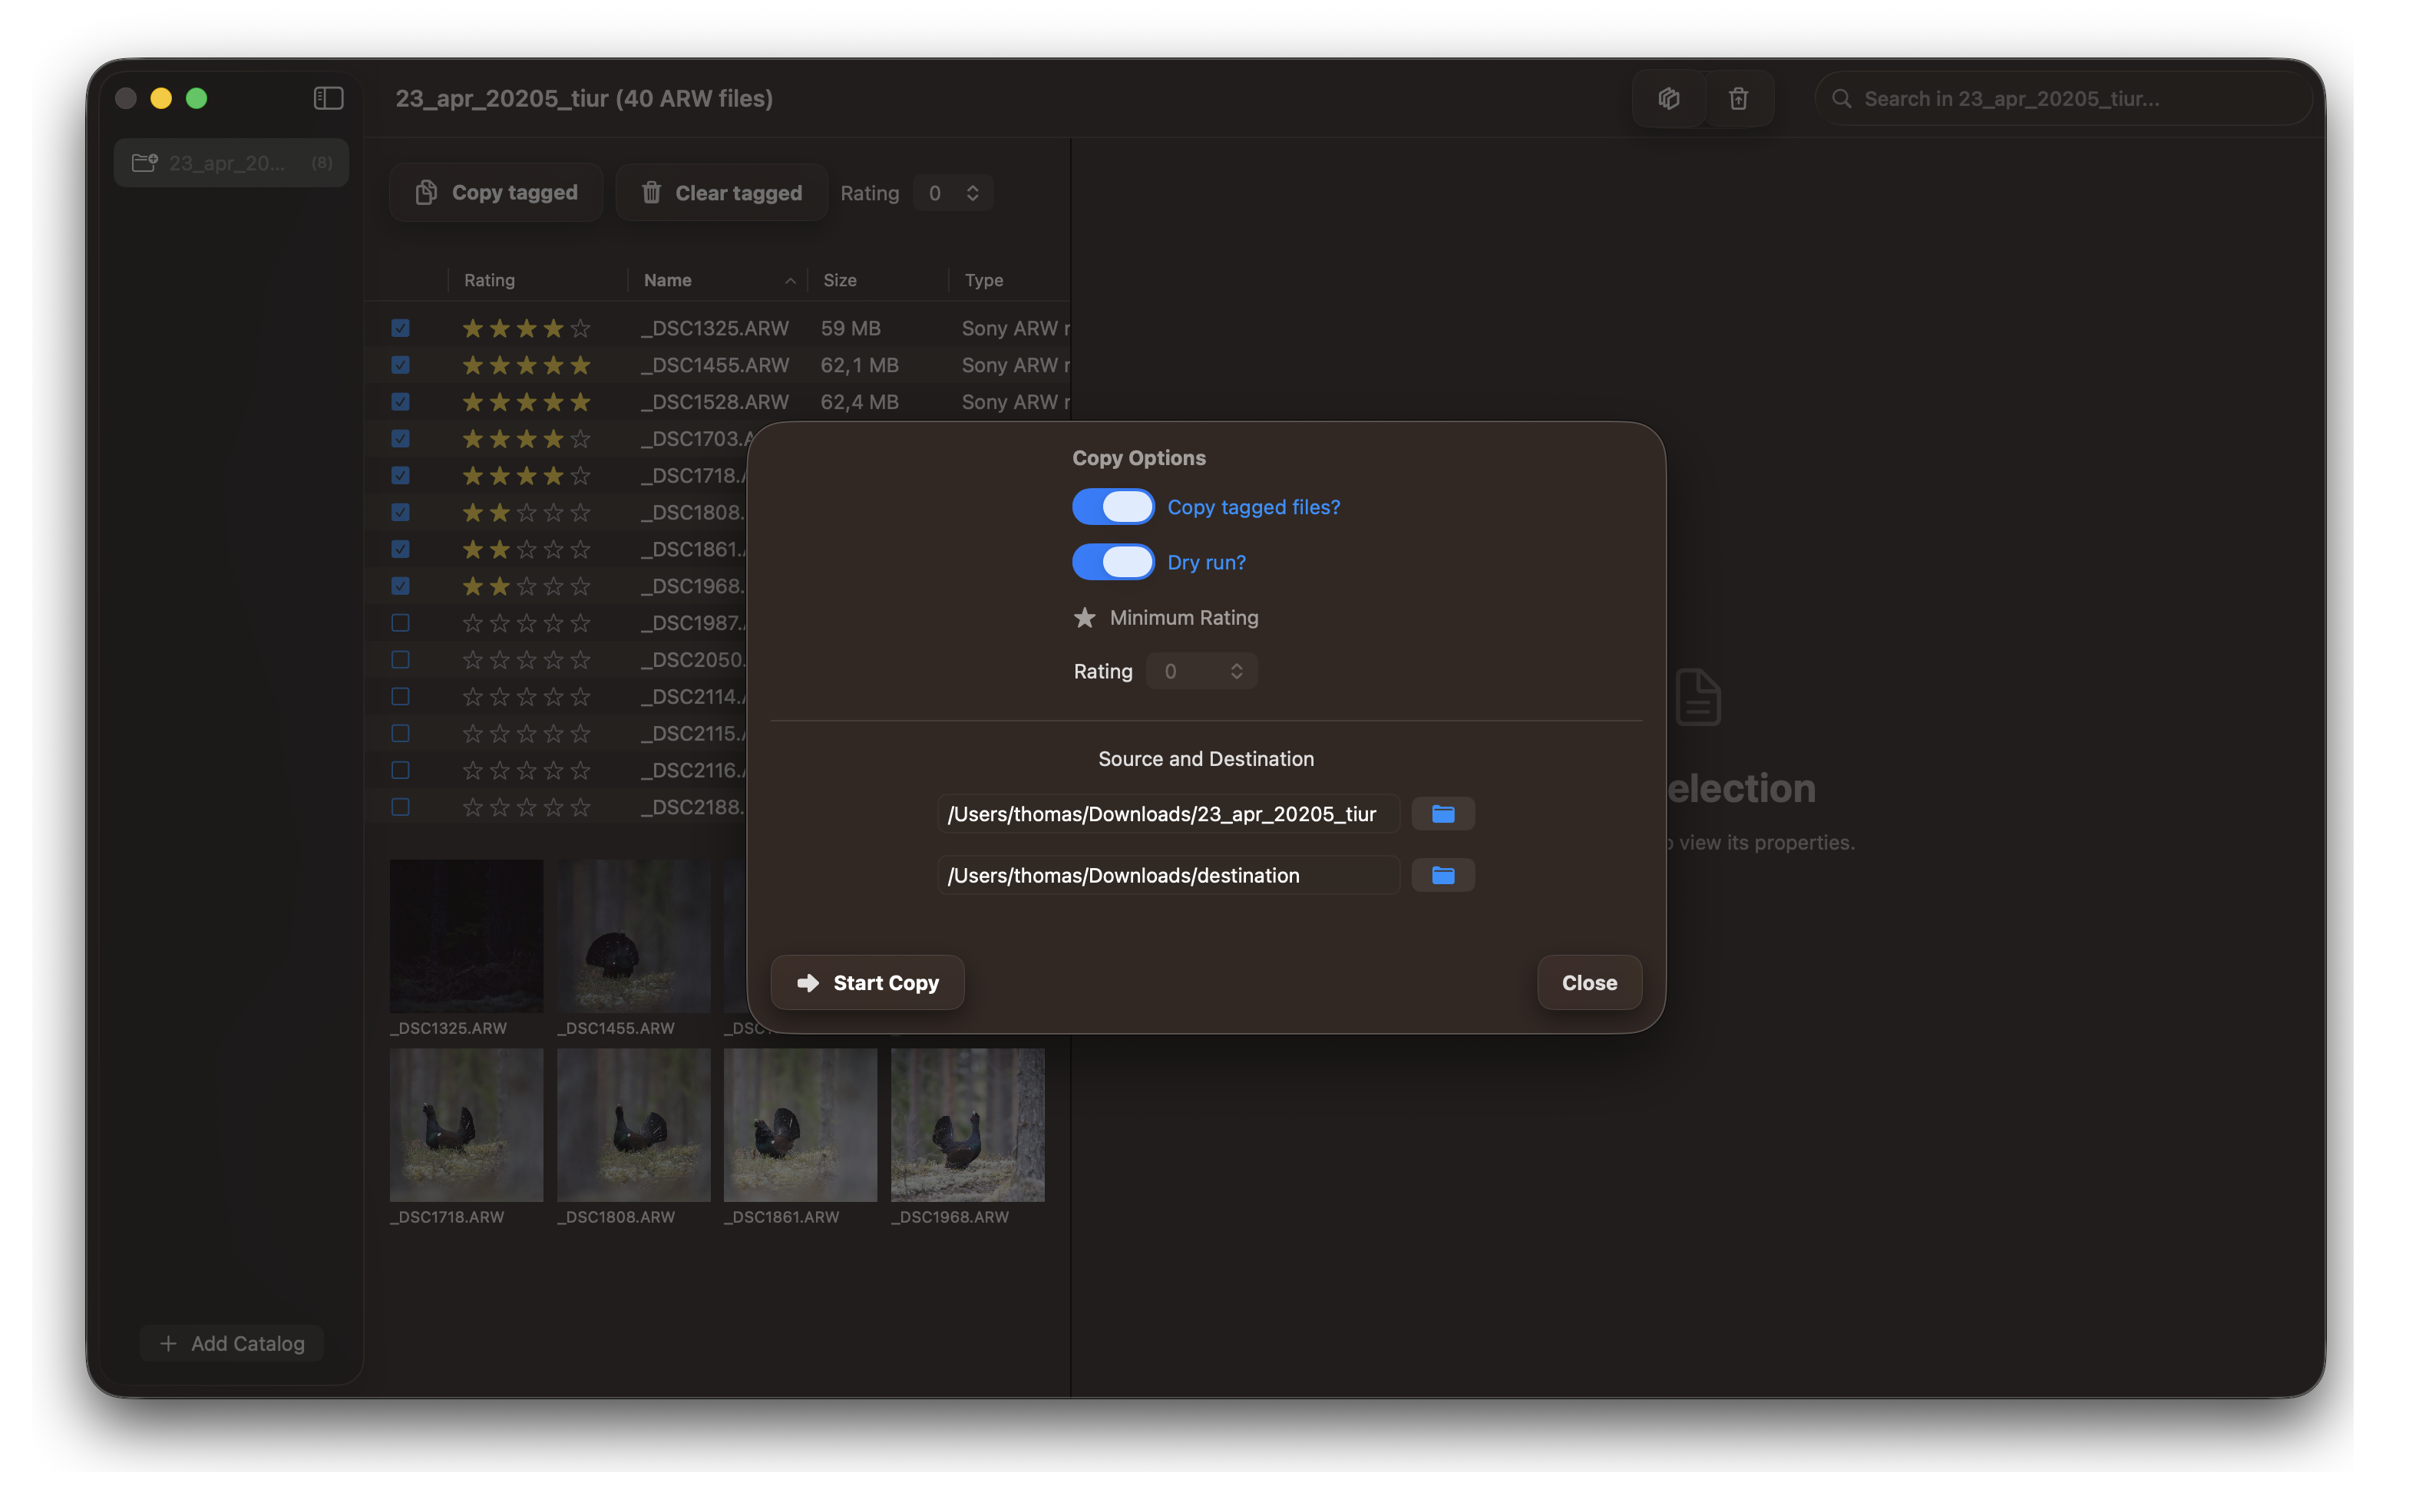
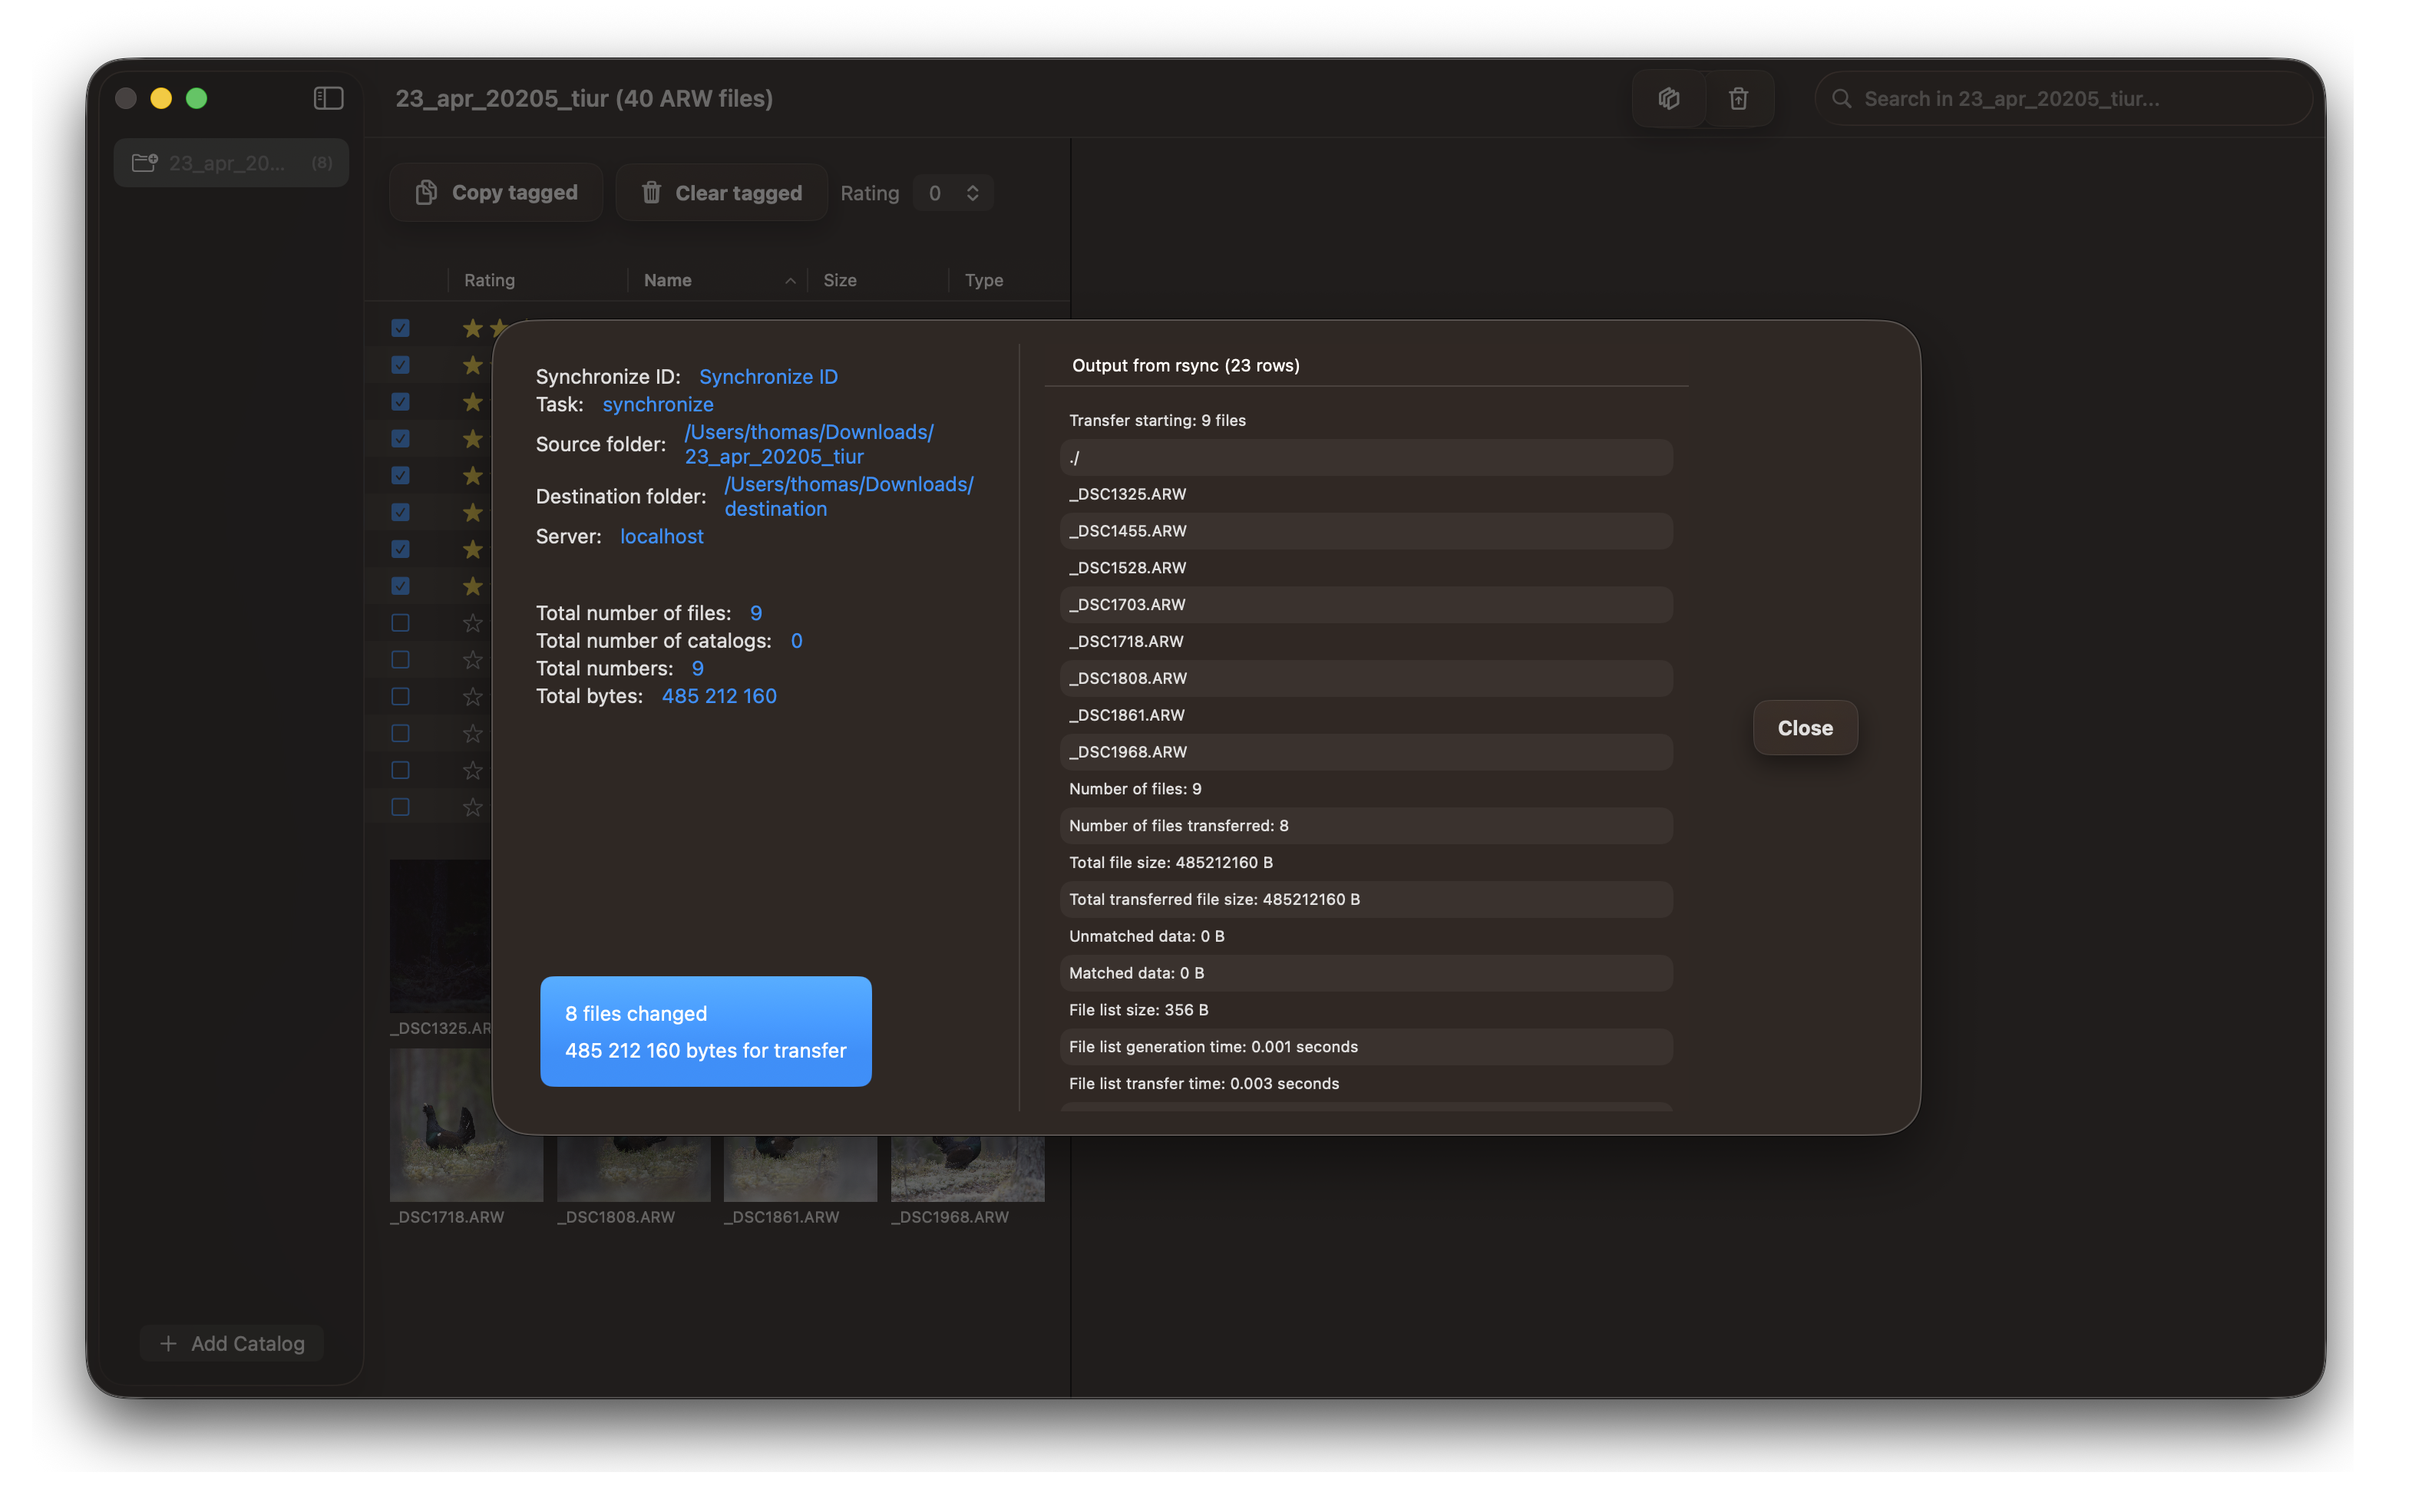
Step 3: Copy Tagged Photos to Destination
Execute the copy operation to transfer all tagged photos to your destination folder.
Copy Based on Rating
After rating your photos, use this workflow to copy only the images that meet your rating threshold. This is ideal for copying only your best-rated selections to your final destination.
Step 1: Rate Your Photos
Review and rate your images in PhotoCulling, assigning ratings to indicate quality and value of each photo.
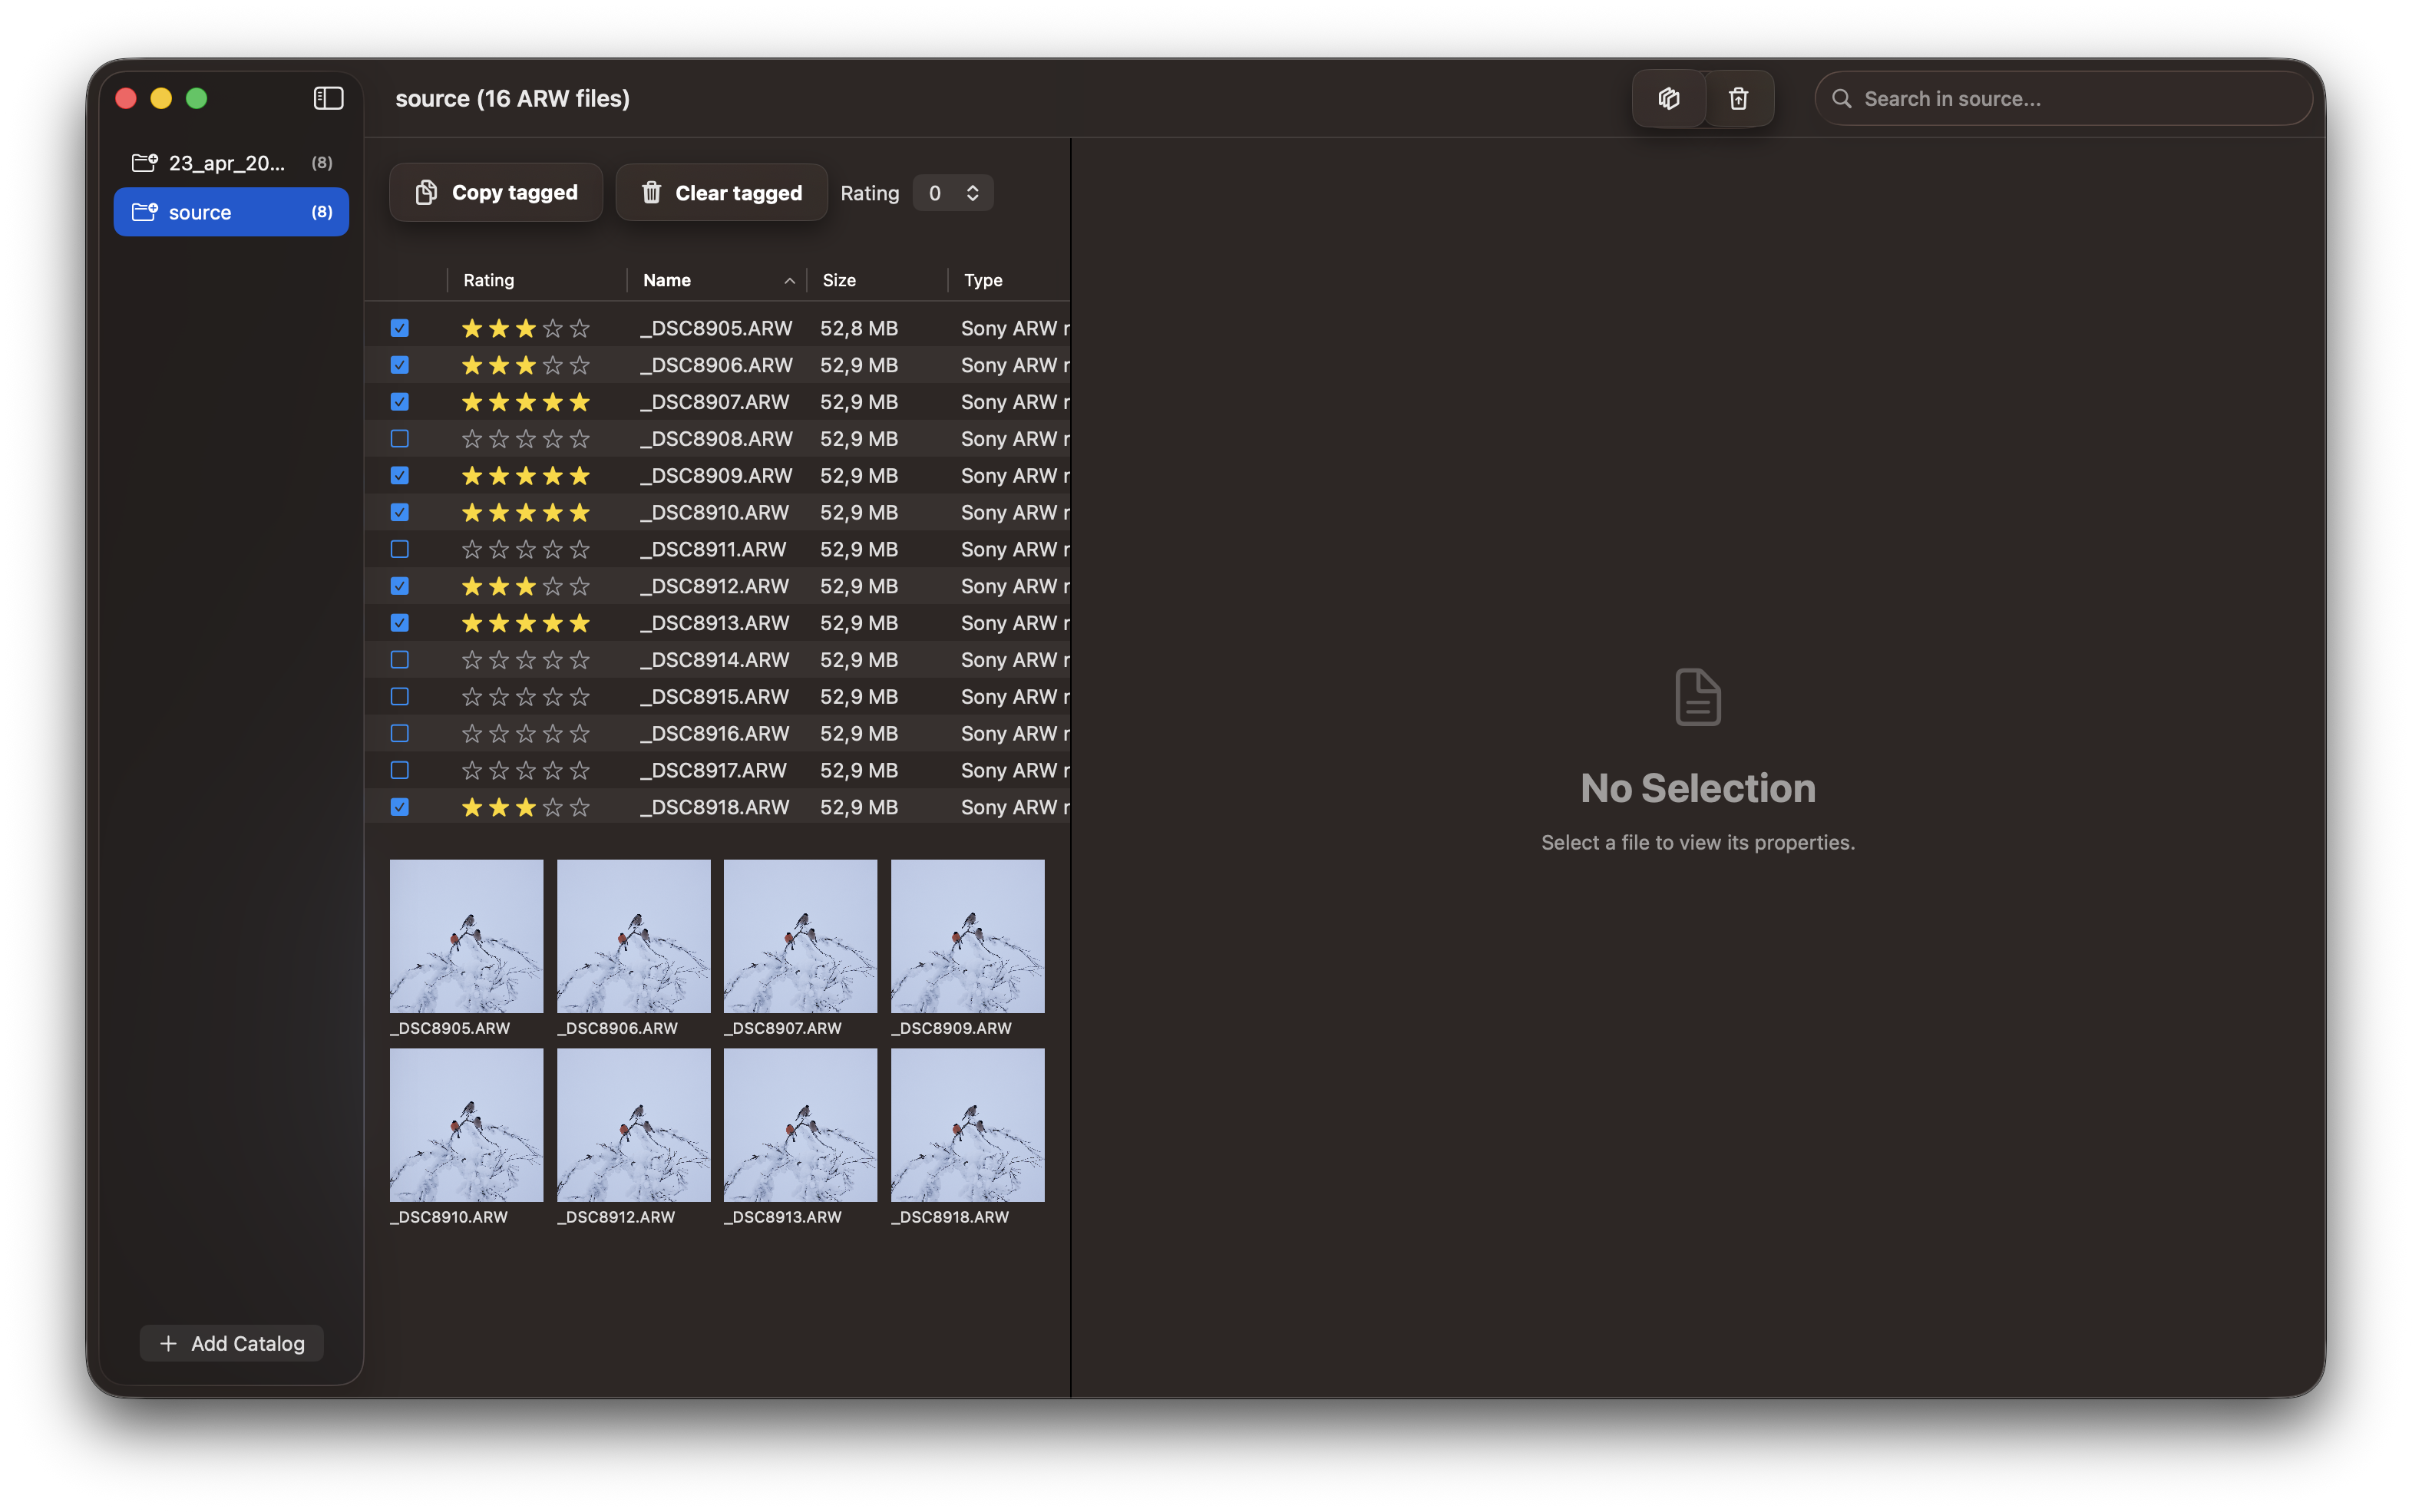
Step 2: Filter by Rating
Use PhotoCulling’s rating filter to display only photos that meet your minimum rating criteria for copying.
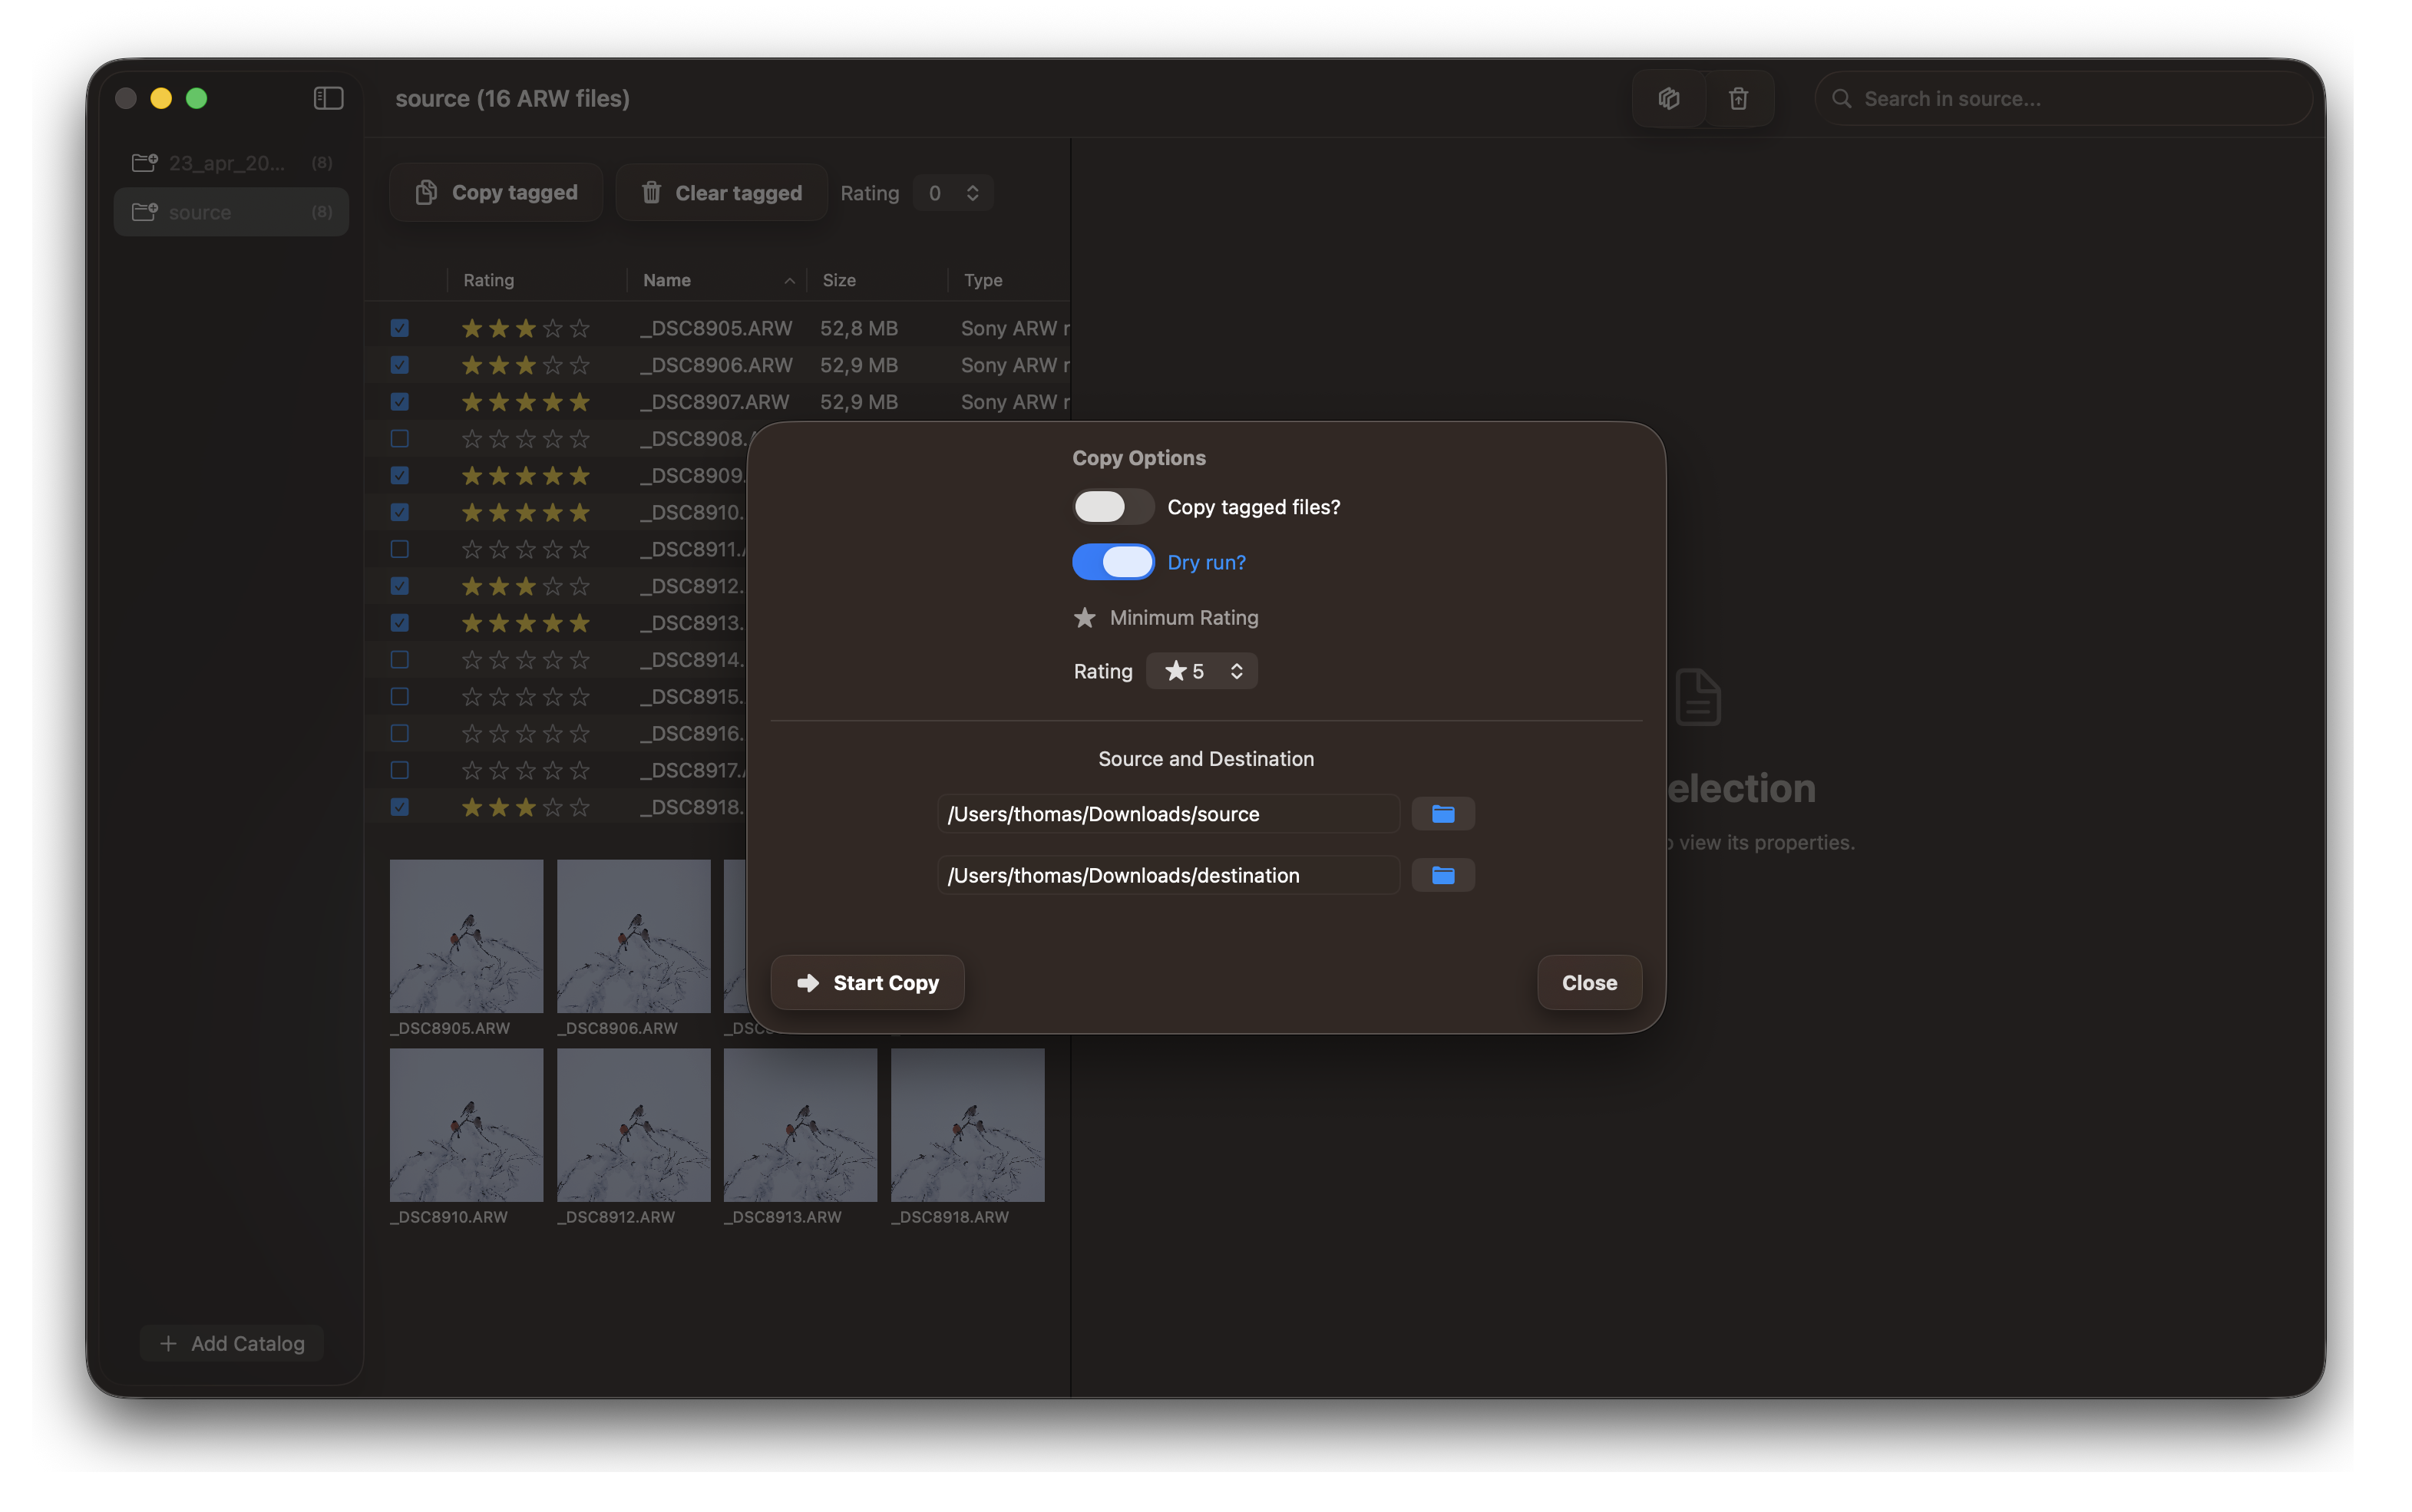
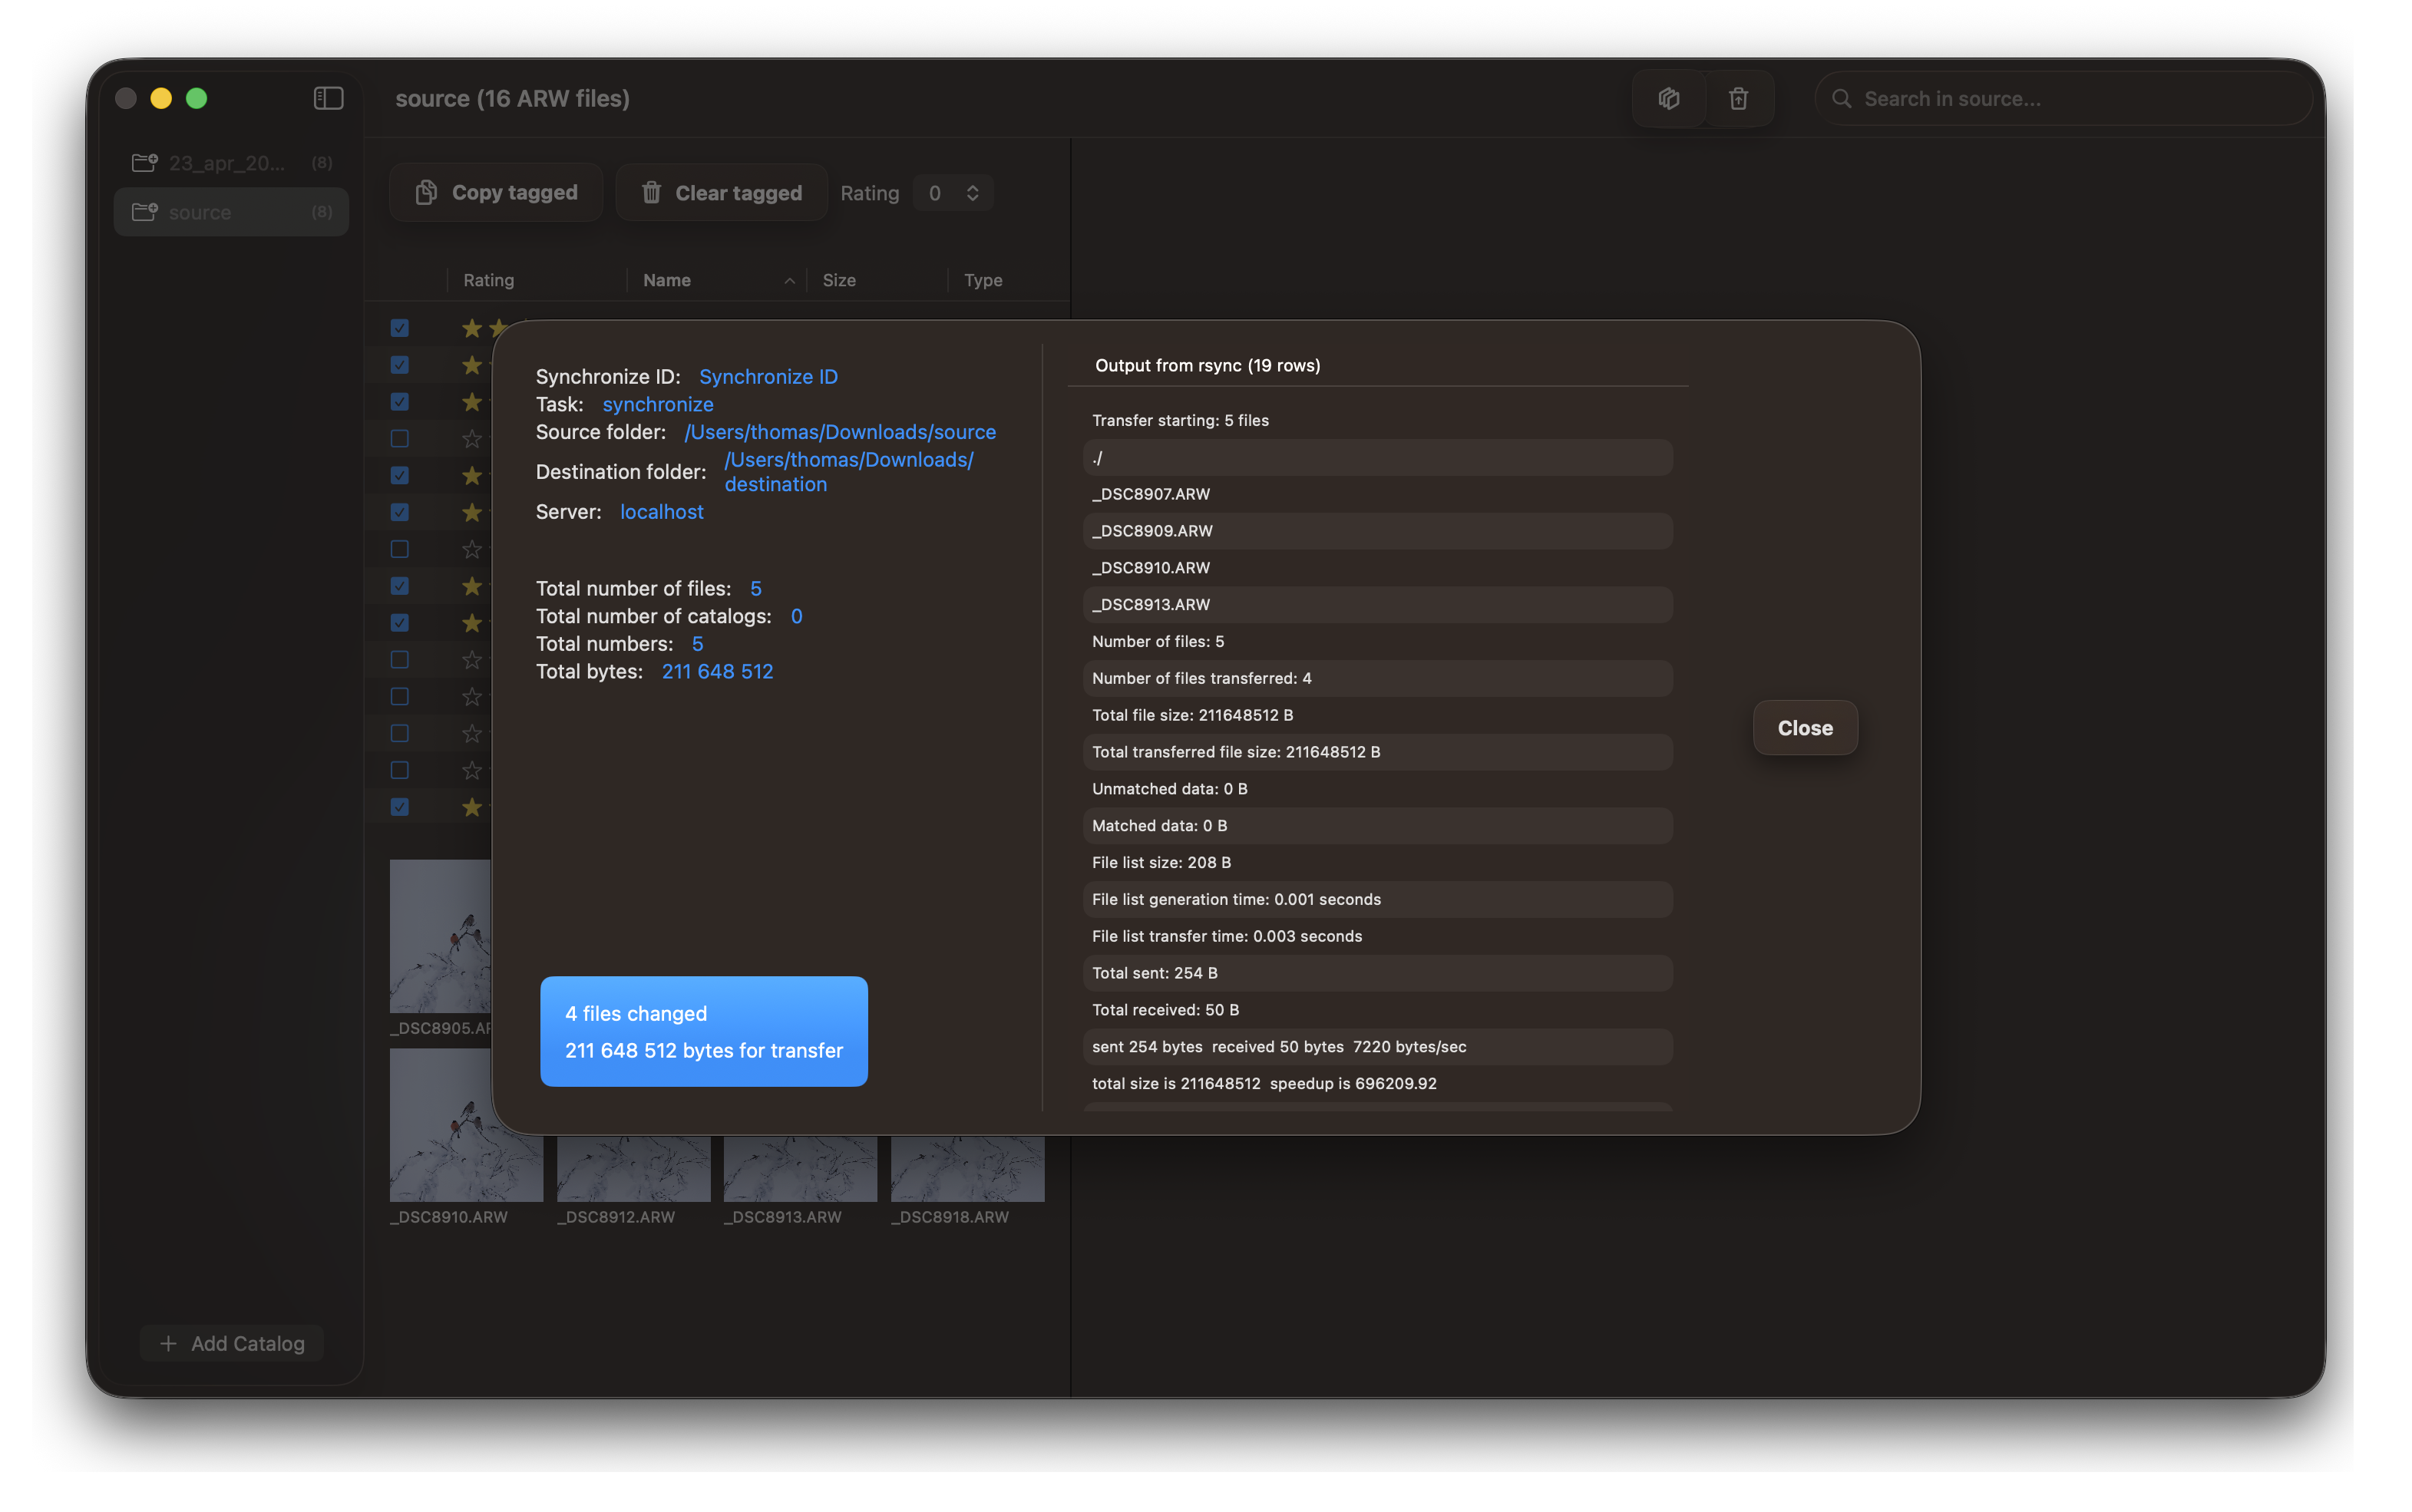
Step 3: Copy Rated Photos to Destination
Execute the copy operation to transfer only your highly-rated photos to your final destination folder.
Tips for Efficient Copying
- Tagged vs. Rating: Choose the copy method that best fits your workflow—tagged photos for broad selections or rating-based for quality-focused selections
- Use Separate Folders: Keep your temporary catalog separate from your final destination to avoid confusion
- Name Your Catalogs: Use descriptive names like “2026-02-01-Event-Tagged” or “2026-02-01-Event-Rated”
- Verify Completion: Always confirm that all images were successfully copied before deleting the source
- Backup First: Consider backing up your original camera files before the culling process begins
Now that you understand both copy workflows, you’re ready to cull your photos using PhotoCulling!
Feedback
Was this page helpful?
Glad to hear it! Please tell us how we can improve.
Sorry to hear that. Please tell us how we can improve.